How to Color Grade Using Curves in CapCut Mod APK (2026 Guide)
Color Grade Using Curves is one of the most powerful editing techniques in 2026. If your video looks dull or flat, curves tool can fix it fast. Many creators use filters, but filters give limited control. Curves give full control over light and color.
Color Grade Through Curves When you Color Grade Manually, you use brightness, contrast and color tones. The curves tool is easy to operate in CapCut 2026. Even amateurs are able to master it. Frankly speaking, as soon as you know curves, you can enhance your level of editing.
Well, cinematic videos are trending now. Social media content looks more professional when colors feel balanced and dramatic. Let us learn how to use curves step by step.
What Is Curves Tool in CapCut?
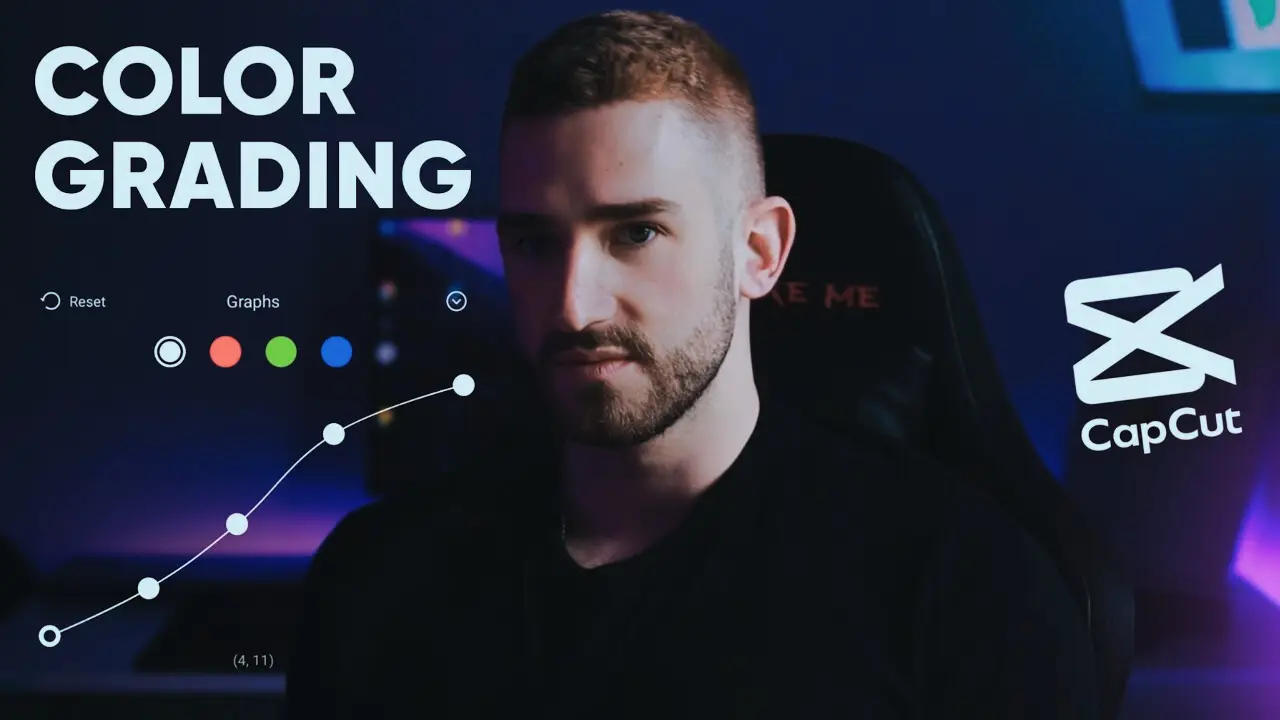
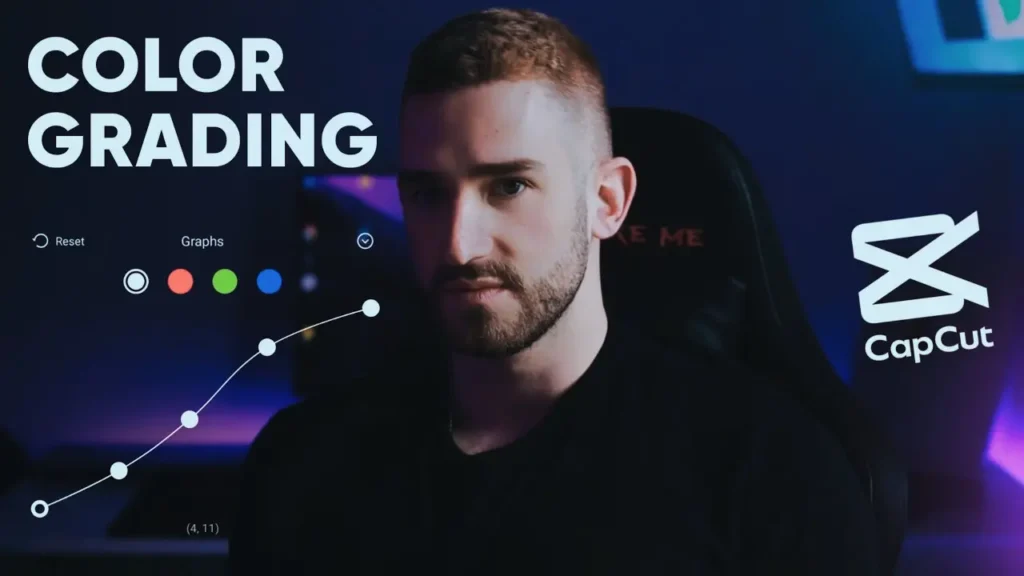
Curves tool is a color adjustment feature. It controls brightness levels from shadows to highlights. You see a graph line. By moving this line, you change light and contrast.
There are RGB channels inside curves. RGB means Red, Green, and Blue. Each channel controls color tone separately.
For example, if your video looks too blue, you can reduce blue channel slightly. In my experience, curves give more natural result than heavy filters.
Filters apply preset settings. Curves allow custom control. That is the main difference.
Why Use Color Grade Using Curves Instead of Filters
Color Grade Using Curves gives precise control. Filters sometimes make skin tone look unnatural. But curves allow small adjustments.
In CapCut Mod APK, you can access full curves tool easily. This helps in cinematic editing.
With curves, shadows, midtones, and highlights are individually controlled. This creates balanced look.
Honestly, serious creators prefer curves because it keeps video natural and professional.
How to Color Grade Using Curves in CapCut Mod APK Step by Step
Color Grade Using Curves in CapCut Mod APK is simple if you follow steps.
First, open CapCut and import your video.
Second, tap on Adjust option. Then select Curves tool.
Now you see diagonal line on graph. To increase contrast, create soft S curve. Pull down lower part slightly and lift upper part slightly.
This deepens shadows and brightens highlights.
Next, adjust RGB channels. For cinematic look, reduce blue in highlights and increase slightly in shadows.
Keep adjustments small. Preview your video often.
Small changes make big difference.
Color Grade Using Curves for Cinematic Look
Color Grade Using Curves helps create warm or cool tone easily.
For warm cinematic look, slightly increase red in highlights. Reduce blue a little in midtones. This gives golden feel.
For moody look, increase blue in shadows and lower highlights slightly.
Some users also explore CapCut Pro Download for advanced tools. But honestly, curves tool alone can create strong cinematic effect.
Practice with different lighting scenes. Each clip needs different curve settings.
Common Mistakes While Using Curves Tool
One mistake is making S curve too strong. This crushes shadows and loses details.
Another mistake is boosting colors too much. Skin tone may look orange or red.
Do not copy same curve for every video. Lighting changes from clip to clip.
Always compare before and after view. Make changes gentle and organic.
Pro Tips for Better Color Grading in 2026
Combine curves with exposure control. Adjust brightness first, then fine tune with curves.
Use small steps. Do not drag curve line too much.
CapCut 2026 also improved preview quality. Zoom into video while grading to check details.
If possible, use reference image. Compare your color tone with cinematic frame.
Honestly, patience makes big difference in grading.
Before and After Example Explanation
Before color grading, video may look flat and low contrast. Colors look weak.
After using curves, shadows become deeper. Highlights look brighter. Skin tone feels balanced.
This simple adjustment makes video more dramatic. Even normal vlog clip looks like short film.
That is the power of curves tool.
Conclusion
Color Grade Using Curves is powerful technique for professional editing. It gives control over light and color in simple way. Unlike filters, curves allow custom adjustments.
In CapCut Mod APK, curves tool is easy to access and simple to use. With practice, you can create cinematic looks quickly.
Remember to keep changes small. Always preview before exporting. Subtle grading looks more professional.
Start practicing today. Once you master Color Grade Using Curves, your videos will look more polished and cinematic.
FAQs
1. What does Color Grade Using Curves mean?
It means adjusting brightness and colors manually using curves tool instead of filters.
2. Is curves better than filters in CapCut?
Yes, curves offer more control and natural results compared to preset filters.
3. How to make S curve in CapCut?
Drag lower part of curve down and upper part slightly up to create soft S shape.
4. Does CapCut Mod APK support RGB curves?
Yes, it provides access to RGB curves for color adjustments.
5. What is best curve for cinematic look?
Soft S curve with slight warm tone adjustments works well for cinematic style.
6. Can beginners use curves tool easily?
Yes, beginners can learn curves with practice and small adjustments.
7. Does color grading reduce quality?
No, if used properly. Over editing may reduce visual clarity.
8. Is CapCut Pro Download required for curves?
No, curves tool is available without needing pro features.
9. How to fix over edited colors?
Reset curves and reduce intensity. Make smaller adjustments next time.
10. What is difference between color correction and color grading?
Color correction fixes exposure and balance. Color grading adds creative style.